How To Repair Car Scratches: A Simple Guide For Your Vehicle
Seeing a scratch on your car can feel like a punch to the gut, can't it? That shiny paint job, the one you really like, now has an unwelcome mark. It's a common problem for vehicle owners, too, whether it's from a runaway shopping cart, a tight parking spot, or even just everyday road debris. These marks don't just look bad; they can actually lead to bigger issues if left alone, so, like, rust might start if the metal gets exposed.
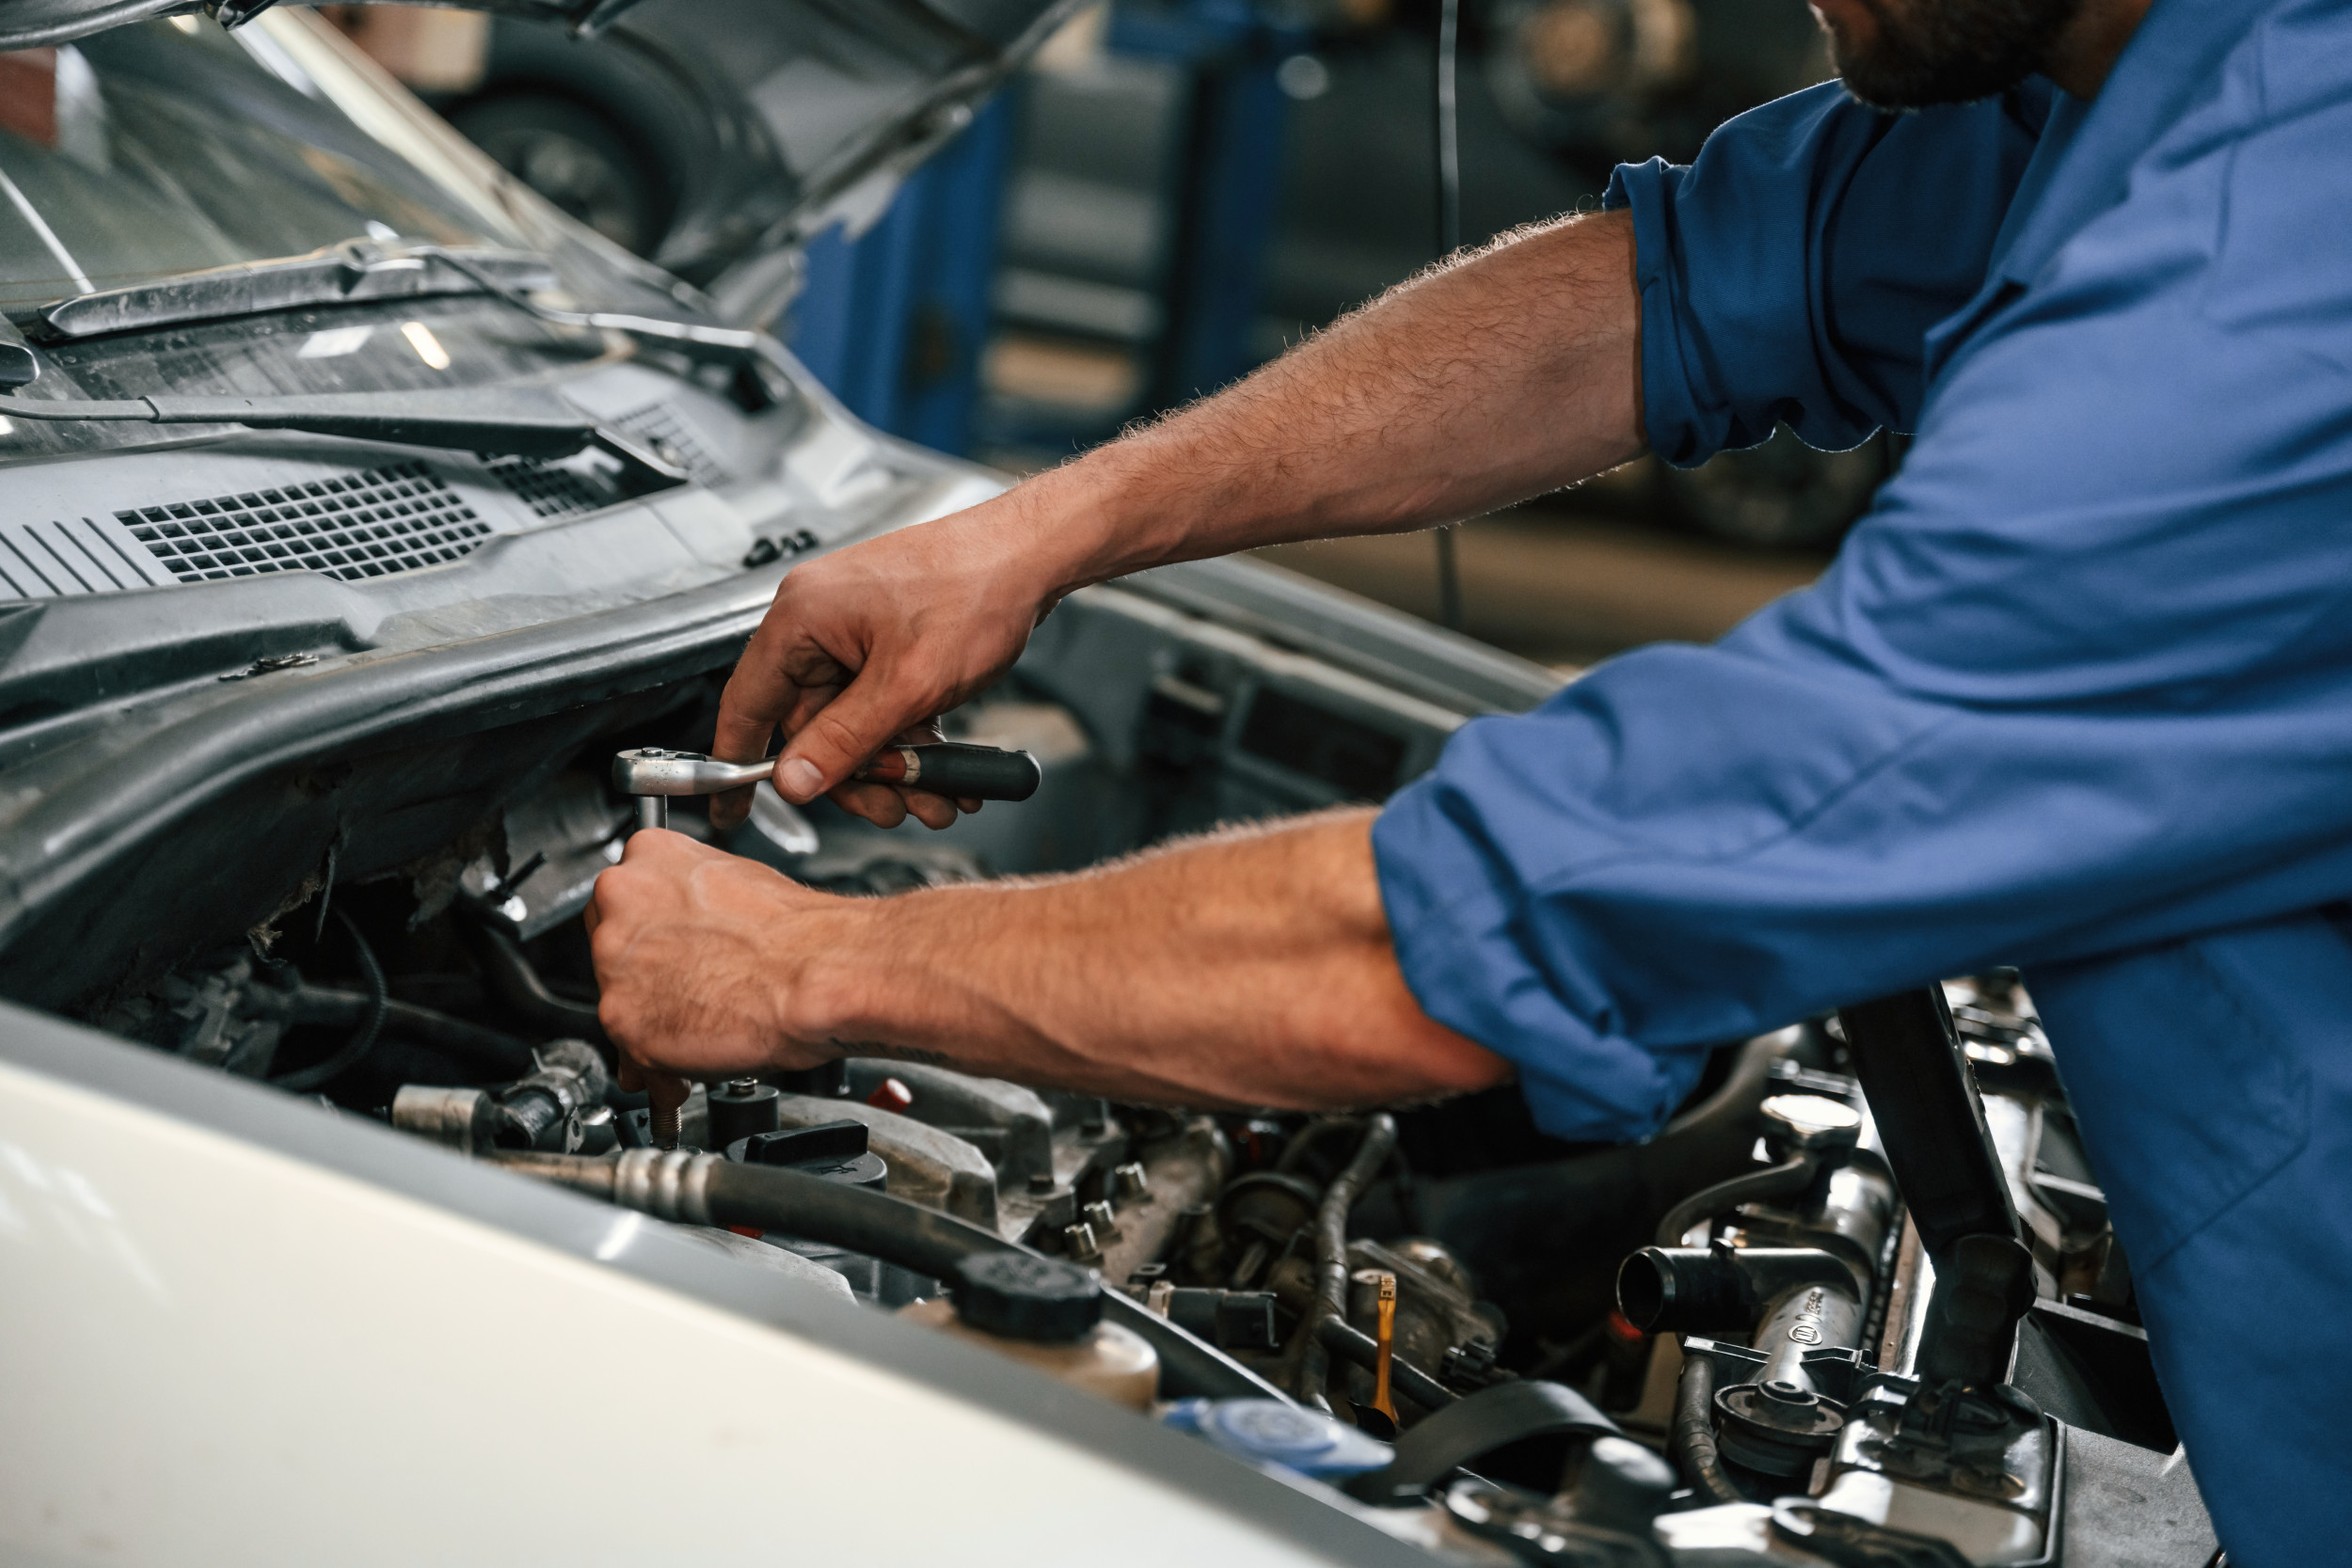
Lots of people think fixing a car scratch means a pricey trip to a body shop, but that's not always the case. For many common types of surface damage, you can actually do a pretty good job right at home. This can save you a good bit of money and, you know, give you a real sense of accomplishment.
This guide will walk you through the steps for fixing different kinds of car scratches. We'll show you what you need and how to do it, so you can bring back that smooth look to your vehicle's finish. Interestingly, while my provided text is all about how to fix computer problems, like running a system file checker or doing a startup repair for Windows 7, dealing with car paint is, you know, a totally different kind of fix!
- Megaskorea Yoojung
- David Eagleman Net Worth
- Iot Device Ssh Access Tutorial
- Cristiano Ronaldo Birthdate
- Fourier Table Transform
Table of Contents
- Understanding Car Scratches: What Kind Do You Have?
- Gathering Your Gear: What You'll Need
- Getting Ready for the Fix: Preparing the Surface
- Fixing Light Surface Marks: The Clear Coat Solution
- Tackling Deeper Paint Damage: Beyond the Clear Coat
- The Final Touches: Polishing and Protecting
- When to Seek Professional Help: Knowing Your Limits
- Frequently Asked Questions About Car Scratch Repair
- Bringing Back the Shine
Understanding Car Scratches: What Kind Do You Have?
Before you start any repair, you really need to figure out how deep the scratch goes. This is pretty important, you know, because it tells you what kind of fix you'll need. Car paint has layers, you see. There's a clear coat on top, then the color paint layer, and sometimes a primer layer underneath that, then the metal itself. So, more or less, a scratch can go through one or more of these.
A simple test is to run your fingernail across the scratch. If your nail catches in it, it's probably deeper than just the clear coat. If you can barely feel it, that's a good sign it's just on the surface. That, is that, a very good way to tell what you're up against.
Light scratches just affect the clear top layer. These are the easiest to deal with. Deeper scratches might go through the color paint. The deepest ones actually reach the metal underneath. Those really need more attention, you know, to stop rust from starting.
- Ju Ji Hoon Wife
- Mike Tyson Tallest Opponent
- Rolls Royce Phantom V16
- Age Difference Dana Perino Husband Age
- Difference In Fades
Gathering Your Gear: What You'll Need
Having the right tools makes a big difference. You don't want to start a job and then realize you're missing something important. So, basically, here's a list of things you'll probably want to have on hand for this kind of work.
- Two buckets of clean water: one for washing, one for rinsing.
- Car wash soap: a gentle kind, of course.
- Microfiber towels: several of them, for washing and drying.
- Rubbing alcohol or a paint prep cleaner: to get the surface really clean.
- Painter's tape: to protect areas you don't want to touch.
- Fine-grit sandpaper (2000-3000 grit): for very light wet sanding.
- Scratch remover compound or polishing compound: a key item for surface marks.
- Touch-up paint (matched to your car's color code): for deeper damage.
- Clear coat pen or spray: to reseal the repaired area.
- Applicator pads or soft cloths: for applying compounds and polishes.
- Gloves: to keep your hands clean and safe.
Getting Ready for the Fix: Preparing the Surface
Preparation is, you know, super important. You can't fix a scratch properly if the area isn't perfectly clean. Any dirt or grit can actually make things worse. So, like, take your time with this step.
First, wash the car thoroughly, especially the scratched area. Use car wash soap and plenty of water. Rinse it really well to get rid of all soap residue. Then, dry it completely with a clean microfiber towel. You want it spotless, you know, very clean.
Next, use rubbing alcohol or a paint prep cleaner on the scratch. This removes any wax, grease, or other stuff that might be stuck there. Wipe it gently with a clean cloth. Let it dry fully. This step, you know, helps the repair materials stick properly. It's almost like preparing a canvas for painting.
If you're working near other parts of the car you don't want to affect, use painter's tape to mask them off. This is a good idea, especially if you're using sprays or compounds that might spread. You want to protect the surrounding good paint, naturally.
Fixing Light Surface Marks: The Clear Coat Solution
For those annoying light scratches that only affect the clear coat, a good scratch remover compound or polishing compound is your best friend. These products work by gently removing a tiny layer of the clear coat around the scratch, effectively leveling the surface. It's a bit like buffing out a dull spot on a table, you know, just a little bit.
This method is surprisingly effective for many minor scuffs and swirl marks. You'll be amazed at the difference it can make. So, if your fingernail doesn't catch in the scratch, this is probably the way to go. It really works for a lot of everyday wear and tear, you know, that your car picks up.
Step-by-Step for Clear Coat Scratches
Here's how you can make those light marks disappear. Remember to work in a shaded area, as direct sunlight can make the compound dry too fast. That, is that, a really helpful tip for getting good results.
Apply the Compound: Put a small amount of scratch remover compound onto an applicator pad or a clean, soft microfiber cloth. You don't need a lot, just enough to cover the pad's surface. Basically, a little goes a long way here.
Rub the Scratch: Using firm, circular motions, rub the compound into the scratch. Work on a small area at a time. Keep rubbing until the compound starts to disappear. You'll see the scratch begin to fade as you work. This might take a few minutes, you know, so be patient.
Wipe Away Excess: With a clean part of your microfiber cloth, wipe away any extra compound. Check your work. Is the scratch gone? If not, you might need to repeat the process. Sometimes, you know, it takes a couple of tries.
Inspect and Repeat (If Needed): Look closely at the area. If you still see a faint mark, apply a bit more compound and repeat the rubbing process. You're trying to blend the area perfectly. That, is that, the whole point of this step.
Polish for Shine: Once the scratch is gone, you might want to use a car polish over the entire panel. This will help restore the shine and ensure the repaired area matches the rest of the paint. It just gives it that extra bit of sparkle, you know.
Tackling Deeper Paint Damage: Beyond the Clear Coat
When a scratch goes past the clear coat and into the color layer, or even down to the primer or metal, you need a different approach. This kind of damage requires filling the scratch with new paint. It's a bit more involved, you know, than just buffing. You'll need touch-up paint that matches your car's color code exactly. This code is usually found on a sticker inside the driver's side door jamb or under the hood. Getting the right color is, like, super important for a good match.
This method aims to hide the scratch by adding back the missing layers of paint. It won't be a factory-perfect finish, but it will certainly make the scratch much less noticeable and protect the metal from rust. It's almost like doing a tiny art project on your car, you know, very precise work.
Step-by-Step for Deeper Scratches
This process takes a steady hand and a bit of patience. Work slowly and carefully for the best results. You want to build up the layers, you know, not just slop it on.
Clean and Prep Again: Make sure the area is perfectly clean and dry. Use rubbing alcohol to get rid of any oils or dirt. Tape off the area around the scratch with painter's tape, leaving only the scratch exposed. This helps protect your good paint, you know, from accidental marks.
Apply Touch-Up Paint: Using the tiny brush that comes with the touch-up paint, or a very fine artist's brush, apply a very thin layer of paint directly into the scratch. Don't overfill it. You just want to coat the bottom of the scratch. This is, you know, a very delicate step.
Let it Dry: Allow the first layer of paint to dry completely. This could take anywhere from 30 minutes to a few hours, depending on the paint and humidity. Check the product instructions for drying times. Patience is, you know, a virtue here.
Add More Layers (If Needed): If the scratch is still visible, apply another thin layer of paint. Build up the paint in thin layers until it's slightly raised above the surrounding paint surface. It's better to apply several thin coats than one thick one, you know, for a smoother finish.
Apply Clear Coat: Once the touch-up paint is fully dry (this might take 24 hours or more), apply a thin layer of clear coat over the repaired area. This protects the new paint and helps it blend in. Use a clear coat pen or a very light spray. This, is that, the final protective layer.
Wet Sand (Optional, for advanced users): If the repaired area is noticeably raised, you can very gently wet sand it with 2000 or 3000 grit sandpaper. Dip the sandpaper in water and lightly rub over the raised area until it's level with the surrounding paint. This is a delicate step, you know, so be very careful not to sand too much. Learn more about car care on our site.
Polish and Buff: After wet sanding (if you did it), or after the clear coat has fully cured, use a polishing compound to buff the area. This will remove any haziness from sanding and bring back the shine. You want it to look seamless, you know, like the scratch was never there.
The Final Touches: Polishing and Protecting
Once your scratch repair is complete, whether it was a light scuff or a deeper mark, you'll want to finish the job right. This means polishing the area and then protecting it. This step really helps the repaired spot blend in with the rest of your car's finish. It's almost like putting a nice frame around a picture, you know.
Apply a good quality car polish to the entire panel where you worked. Use a clean applicator pad and rub it in small sections. Then, buff it off with a clean microfiber cloth. This will restore the gloss and make the paint look uniform. It really makes a difference, you know, in the overall appearance.
Finally, apply a layer of car wax or a paint sealant over the polished area. This adds a protective barrier that shields your paint from future damage and keeps it looking shiny for longer. It's a good habit to wax your car regularly anyway, you know, for long-term protection. This will help your repair last and keep your car looking great. Also, you might want to check out our other car maintenance tips for more ways to keep your vehicle in top shape.
When to Seek Professional Help: Knowing Your Limits
While many scratches can be fixed at home, some are just too big or too deep for a DIY approach. If the scratch is very wide, covers a large area, or has caused a dent in the metal, it's probably best to take it to a professional. Body shops have the right tools and expertise to handle complex paint repairs. They can also blend colors perfectly, which is very hard to do at home, you know, for a seamless look.
Also, if you're not comfortable with the process, or if you're worried about making the scratch worse, that's a good sign to call in the pros. Sometimes, you know, it's worth paying for peace of mind and a perfect finish. A professional repair will also likely hold up better over time, especially for significant damage. You want the job done right, you know, for your vehicle's value.
Frequently Asked Questions About Car Scratch Repair
Here are some common questions people ask about fixing car scratches.
How much does it cost to fix a car scratch?
The cost really depends on the scratch's depth and size. For a DIY clear coat scratch, it might just be the cost of a compound, perhaps $10-$30. Deeper DIY repairs with touch-up paint might run $20-$50. Professional repairs, however, can range from a couple of hundred dollars for a small spot to over a thousand for a large, deep scratch that needs bodywork. It's a very wide range, you know, depending on the severity.
Can toothpaste remove car scratches?
Some people try toothpaste for very, very minor clear coat scuffs. Toothpaste has mild abrasives that can, in a way, lightly polish the surface. However, it's not made for car paint and can actually cause more harm than good if used improperly or on deeper scratches. It's generally better to use products designed specifically for car paint repair, you know, for safety and better results.
How long does car scratch repair last?
A DIY repair on a clear coat scratch, if done well, can last indefinitely as long as the car is cared for. Deeper touch-up paint repairs can also last a long time, especially if protected with wax. However, they might not be as durable as a professional, baked-on paint job. Professional repairs, when done correctly, are meant to last for the life of the vehicle, you know, pretty much like the original paint.
Bringing Back the Shine
Taking care of car scratches yourself can be a very rewarding task. It saves you money and gives you a good feeling about keeping your vehicle looking its best. With the right tools and a bit of patience, you can often make those unsightly marks disappear, bringing back that smooth, shiny look. So, you know, don't let a small scratch ruin your day. Give these methods a try, and see the difference you can make. Your car will thank you for it, really.
- Brazilian Football Player Hulk
- Keith Whitley Death Cause
- Chronic Law Age
- Jon Batiste Wife
- Who Is Anna Faris Married To
Life, Liberty and Right to Repair - Newsweek

Auto Repair Mechanic Near Me at Tyler Garcia blog
Repair Services | Remote Monitoring & Software Support
