Unlocking Your Inner Artist: Easy Spongebob Painting For Everyone!
Have you ever looked at Spongebob Squarepants and thought, "Wow, I wish I could paint that, but it seems so hard"? Well, guess what? It’s actually a lot simpler than you might imagine to create your very own cheerful Spongebob on canvas, or really, any surface you like! This little guide is here to show you just how much fun and how truly easy it can be to bring a bit of Bikini Bottom magic into your home, you know? It's a fantastic way to spark some creativity, whether you’re a seasoned artist or someone just picking up a brush for the first time, basically.
There's something wonderfully satisfying about making art with your own hands, especially when it’s a character as beloved and full of good vibes as Spongebob. Maybe you’re looking for a fun activity to do with the kids on a lazy afternoon, or perhaps you just want a simple, relaxing project for yourself after a long day. This painting project, you see, is perfect for all ages and skill levels, promising smiles and a sense of accomplishment without any of the pressure.
We’ll walk through everything you need, from the basic supplies to each gentle stroke, making sure you feel confident and ready to create. It’s not about perfection here; it’s about enjoying the process and letting your creativity flow, which is that, a very good thing. So, grab your paints and let’s get ready to make some bubbly, happy art!
- Sequoia Zamalek Cairo
- When Is Elliana Kalogeras Birthday
- Mario Kreutzberger Net Worth
- Zack De La Rocha Net Worth
- When To Apply Hand Cream
Table of Contents
- Why Spongebob is the Perfect Beginner Project
- Gathering Your Art Supplies for a Spongebob Masterpiece
- Step-by-Step: Your Easy Spongebob Painting Adventure
- Tips for a Smooth and Happy Painting Experience
- Frequently Asked Questions About Spongebob Painting
- Your Spongebob Painting Journey Continues
Why Spongebob is the Perfect Beginner Project
When you're just starting out with painting, or even if you're looking for something straightforward and fun, choosing the right subject makes all the difference. Spongebob Squarepants, you see, is pretty much ideal for this, almost perfectly suited for anyone wanting a simple, rewarding art experience. His design is simple, yet so full of personality, making him a great choice for painters of all ages.
The Joy of Simple Shapes
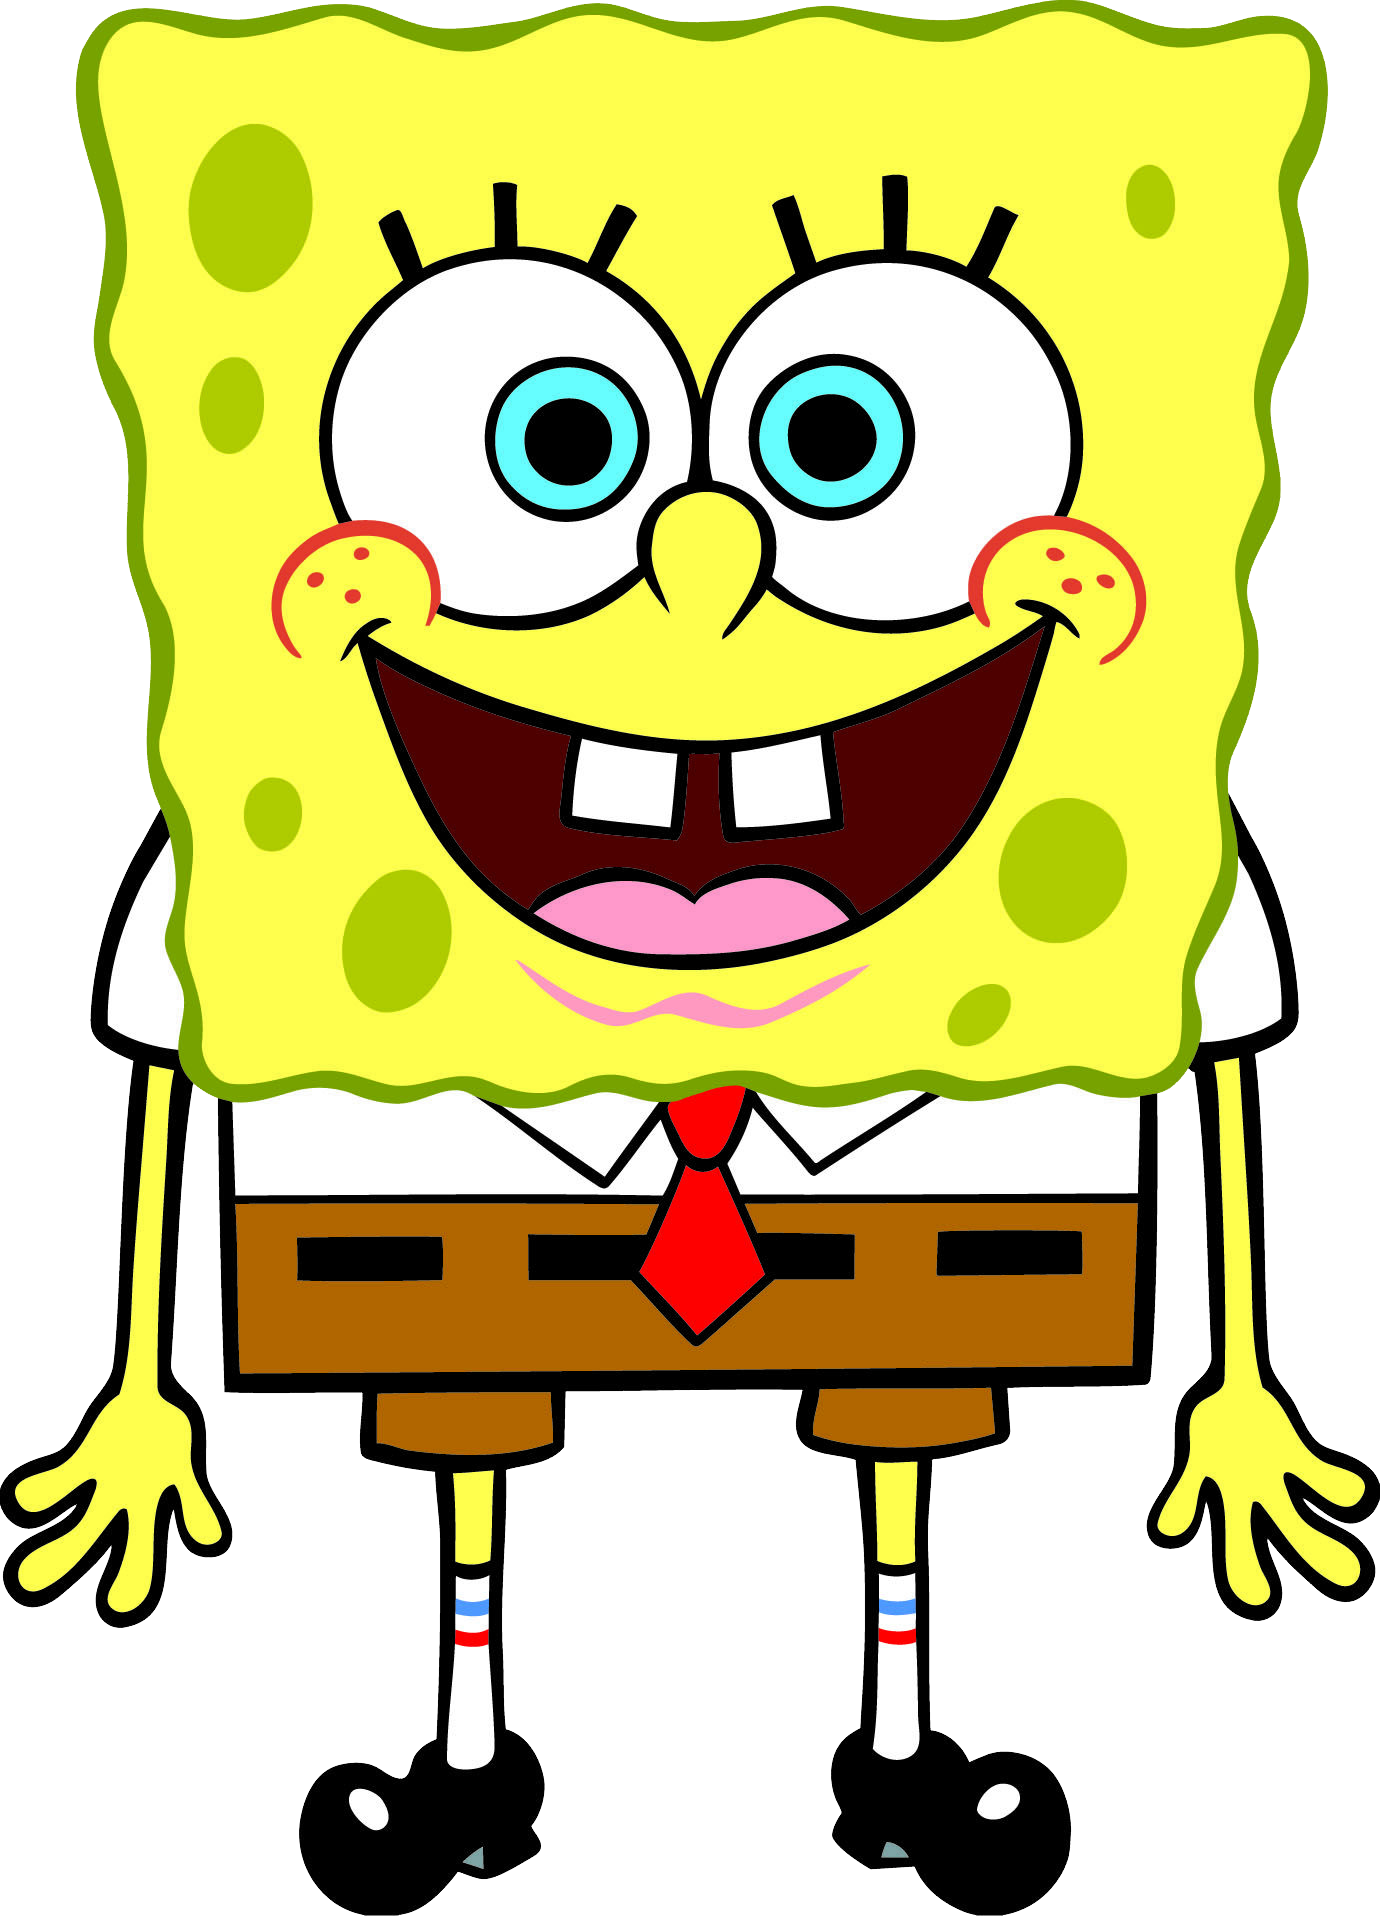
Spongebob's core design relies on very basic shapes, which is a huge plus for beginners. You start with a square, add some circles for eyes, and maybe a few rectangles for his shirt and pants. It's really that simple, honestly. This simplicity means you don't need to worry about complex anatomy or tricky perspectives, allowing you to focus on the joy of putting paint to surface, which is pretty much the point.
Breaking down a character into these fundamental shapes helps build confidence. You'll find that once you get the main form down, adding the smaller, more detailed elements becomes much less intimidating. It's a bit like building with blocks, really; you start with the big pieces and then add the smaller ones, piece by piece, you know?
Vibrant Colors and Endless Smiles
Spongebob is known for his bright, cheerful colors. A sunny yellow, a deep brown, a crisp white, and a vibrant red are pretty much all you need to capture his essence. These bold colors are forgiving, too, as they tend to look great even with a few wobbly lines or slightly uneven patches. It’s hard to make a painting with Spongebob’s colors look anything but happy, which is a nice bonus.
And let's not forget that iconic smile! His expressions are often exaggerated and full of joy, making them easy to replicate and instantly recognizable. Painting Spongebob is, in a way, like painting pure happiness. It’s a project that almost guarantees a positive outcome, both in the artwork itself and in the feeling you get while creating it, you know?
Gathering Your Art Supplies for a Spongebob Masterpiece
Before we dip our brushes, it’s a good idea to gather everything you'll need. Don't worry, you won't need a fancy art studio or expensive materials. Most of these items are probably already around your house, or very easy to pick up at a local craft store, or really, any general store. Having everything ready before you start makes the whole process so much smoother and more enjoyable, that, is a good tip.
Paints and Palettes
For an easy Spongebob painting, acrylic paints are your best friend. They dry quickly, clean up with water, and are vibrant. You'll want these basic colors, you know: yellow, white, black, red, blue, and brown. You can mix these to get all the shades you need for Spongebob and his outfit. Maybe a little green if you want to add some details like his tie, too.
As for a palette, anything flat and non-absorbent will work. An old ceramic plate, a plastic lid, or even a piece of cardboard covered in foil can be your mixing surface. You just need a spot to put your paints and blend them together, which is pretty simple.
Brushes and Surfaces
You don't need a huge collection of brushes. A few different sizes will be just fine. A medium-sized flat brush is great for filling in larger areas like Spongebob's body, and a smaller, pointed brush is perfect for details like his eyes, mouth, and those tiny little holes. Perhaps a fine-tipped brush for the very small lines, too.
For your painting surface, canvas boards are great and inexpensive, but you can use almost anything! Thick paper, cardboard, a piece of wood, or even a smooth rock can become your Spongebob canvas. Just make sure whatever you choose is clean and dry before you start, as a matter of fact.
Other Handy Helpers
Don't forget a cup of water for rinsing your brushes – you'll want at least two, actually, one for light colors and one for dark colors to keep things clean. Paper towels or an old rag are super useful for drying brushes and wiping up any little spills. An old apron or shirt is also a good idea to protect your clothes from paint splatters. And maybe a pencil and eraser for sketching out your initial design, you know, just in case.
Step-by-Step: Your Easy Spongebob Painting Adventure
Now for the fun part! We’ll break down painting Spongebob into simple, manageable steps. Remember, there's no right or wrong way to do this. Just relax and enjoy the process. This is your chance to really just have fun with it, anyway.
Step 1: The Basic Outline
Start by lightly sketching Spongebob's main shape onto your chosen surface with a pencil. Think of a slightly rounded square for his body. Don't press too hard, as you want these lines to be easy to paint over later. You can always erase and adjust if you need to, which is nice.
Next, add two circles for his eyes at the top of the square, and a gentle curve for his smile underneath. You might also sketch in his pants line, which is basically a straight line across his lower body. This initial sketch is your roadmap, so to speak, helping you place everything just right, you know?
Step 2: Filling in the Main Colors
Time for paint! Take your yellow and carefully fill in Spongebob's body. Try to stay within your pencil lines, but don't worry if you go outside them a little bit; you can always clean it up later. Let this layer dry a bit before moving on, especially if you're going to layer other colors on top, which is often a good idea.
Once the yellow is mostly dry, paint his brown pants. Then, use white for his shirt and the whites of his eyes. You can use a smaller brush for these areas to keep your lines neat. This step really starts to bring him to life, honestly, as his main colors begin to appear.
Step 3: Adding Details and Expressions
Now for the fun details! Use black paint for the pupils of his eyes, his eyelashes, and the outline of his mouth. A thin brush works best here. For his tie, use red, and for his shoes, black again. You can also add those iconic little holes on his body using a slightly darker yellow or light brown, just small circles scattered around, you know?
Don't forget his rosy cheeks! A tiny dot of red or pink paint can go just below each eye. And those two buck teeth? White paint with a small line of black separating them, as a matter of fact. These little touches really give him his personality, you see.
Step 4: The Finishing Touches
Once all your paint is dry, take a step back and look at your Spongebob. Do you want to add a background? Maybe a blue sky, some green grass, or even a few bubbles? This is where you can really make the painting your own. You could even add Patrick or Squidward if you're feeling ambitious, which is fun.
You can also use a fine black marker or a very thin brush with black paint to go over your outlines and make them crisp and clear. This step, you know, can really make your Spongebob pop. Just be sure all the paint is completely dry before you do this, so you don't smudge anything.
Tips for a Smooth and Happy Painting Experience
Painting should be a relaxing and enjoyable activity, not a stressful one. Here are a few tips to help make your easy Spongebob painting adventure even better, basically. These little ideas can make a big difference in how you feel about the whole process, you know?
Embracing Imperfections
Remember, this is about having fun and being creative, not about creating a perfect, museum-worthy piece. Wobbly lines, slightly uneven colors, or a Spongebob with a bit more character than the original are all part of the charm of handmade art. Every brushstroke tells a story, and yours is unique, which is pretty cool.
If you make a mistake, don't worry! Acrylic paint can often be painted over once it's dry. Or, you can just incorporate it into your design. Maybe Spongebob just has a new, unique freckle, you know? It's all part of the artistic process, truly.
Keeping It Clean
Painting can get a little messy, but a few simple habits can keep things tidy. Always rinse your brushes thoroughly between colors, especially when switching from dark to light. Use those paper towels to blot them dry. And, you know, cover your workspace with old newspapers or a plastic sheet to protect your table, which is always a good idea.
If you get paint on your clothes, try to wash it out with soap and water while it's still wet. Acrylic paint can be tough to remove once it dries, so a quick clean-up is often best, as a matter of fact.
Making It Your Own
This guide gives you a basic framework, but feel free to add your own personal touch! Maybe Spongebob is wearing a silly hat, or holding a jellyfish net. You could paint him in a different pose, or even add a background from Bikini Bottom, like his pineapple house or the Krusty Krab. It's your art, so make it truly yours, you know?
You could even try painting Spongebob on different objects, like a small wooden box, a mug (with appropriate paint), or a t-shirt. The possibilities are nearly endless once you get the hang of the basic shapes and colors, which is pretty exciting. For more inspiration, you might find some interesting visual ideas if you go to this page, or even check out something like `Page 20867 of 284121 go to page` for a specific, quirky reference point that could spark a new idea!
Frequently Asked Questions About Spongebob Painting
Here are some common questions people often ask when they're thinking about painting Spongebob, or really, any simple character. These might help you too, you know?
How do you draw Spongebob easily?
Drawing Spongebob easily starts with his main body shape: a slightly rounded square. Then, add two circles for his eyes on top, and a wide, curved line for his smile. You can sketch in his rectangular pants and shirt collar next. It's all about breaking him down into those very simple, basic forms first, which is often the easiest way, you see.
What colors do you need for Spongebob?
For Spongebob, you'll primarily need yellow for his body, brown for his pants, white for his shirt and eyes, and black for outlines and pupils. Red is also important for his tie and those little rosy cheeks. Blue can be used for his eyes or a background, and maybe a little green for his tie, too. These basic colors are pretty much all you need to bring him to life, honestly.
What are the basic shapes of Spongebob?
Spongebob's most basic shape is a square, or really, a slightly rounded rectangle, for his body. His eyes are circles, and his arms and legs are more like simple tubes or elongated rectangles. His nose is a small, curved shape. By thinking of him as a collection of these straightforward geometric forms, he becomes very easy to sketch and paint, you know, it's almost like building with simple blocks.
Your Spongebob Painting Journey Continues
You've now got the tools and the steps to create your very own cheerful Spongebob painting! It's truly a rewarding experience to see your favorite character come to life under your brush. Remember, the goal here is to have fun, express yourself, and enjoy the creative process, which is, you know, what art is all about. Don't be afraid to experiment with colors or add your own unique flair to your Spongebob. Every painting is a chance to learn something new and just enjoy being creative.
Once you’ve finished your Spongebob, you might find yourself wanting to try other characters, or even come up with your own designs! The skills you pick up with this simple project can be applied to so many other things. You can learn more about beginner art projects on our site, and even link to this page here for more kid-friendly ideas. Keep painting, keep exploring, and most importantly, keep smiling, just like Spongebob!
- Site Cherrymodelstv
- Is Katie Pavlich Married
- Courtney Love N Word
- What Is A Espy
- Is Paul Heyman Married
SpongeBob PNG
SpongeBob PNG
SpongeBob PNG
