Connecting Your IoT Devices: How To SSH IoT Device Remotely Free
Are you looking to get a hold of your smart gadgets or tiny computers from anywhere, without spending a dime? It's a common desire, you know, especially as more and more things around us become internet-connected. Getting to your Internet of Things, or IoT, devices from far away, all for free, sounds like a really good deal, doesn't it? Many folks want to check on their home automation setup, manage a distant sensor, or simply poke around their little server box from a different location, and doing that without a monthly fee is truly appealing.
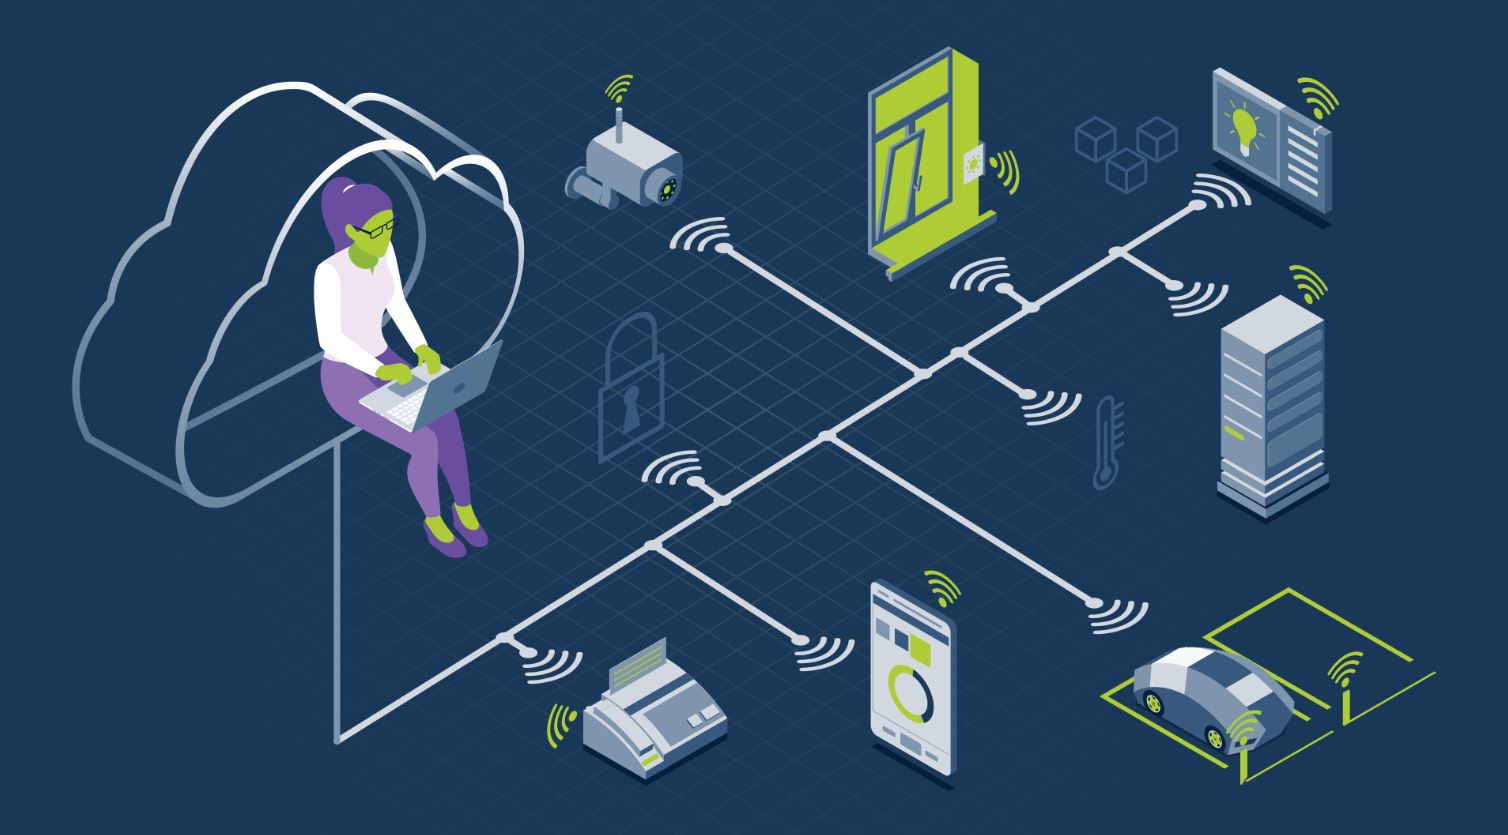
Remote access for these devices means you can update software, check data readings, or even restart a frozen system from your laptop, no matter where you happen to be. Think about a small computer running your home media, or perhaps a sensor array out in the garden. Being able to connect to these things, even when you are far away, gives you a lot of freedom and control, and that is very helpful. This guide will show you how to set up SSH for your IoT devices, letting you get in remotely and securely, all without any extra cost.
We'll talk about the tools you need, the steps to take, and some common problems people run into, like when SSH stops working after you change something on your system. We will also look at how to keep your connections safe. So, if you're ready to take charge of your little devices from a distance, just keep reading, as a matter of fact.
Table of Contents
- What is SSH and Why It Matters for IoT?
- Getting Ready for Remote SSH Access
- Methods to SSH IoT Device Remotely Free
- Keeping Your IoT SSH Connections Safe
- Troubleshooting Common SSH Issues
- Frequently Asked Questions About IoT SSH
- Getting Your IoT Devices Connected
What is SSH and Why It Matters for IoT?
Secure Shell, or SSH, provides a way to connect to a computer system over an unsecured network. It gives you a text-based command line interface, which is very useful for managing things. This connection is encrypted, meaning that what you send and receive is kept private, so no one else can easily peek at your data. It's almost like having a secret, secure phone line straight to your device, you know?
- Stalekracker Net Worth
- Sepp Straka Wife
- Xnxs
- Jane Holzer Net Worth
- Why Did Tony Soprano Kill Christopher
The Basics of Secure Shell
When you use SSH, you are essentially telling your computer to open a secure channel to another computer. This other computer could be a big server in a data center, or in our case, a small IoT device sitting in your home. The connection makes sure that any commands you send, or any information you get back, are protected from prying eyes. It's a fundamental tool for anyone who works with remote machines, actually.
Many systems, like Ubuntu Server 14.04, have SSH built right in, which makes it simple to get started. You can often just open a terminal on your computer and type a simple command to connect, as I often do when I connect to my server with PostgreSQL 9.3 installed. This way, you can run commands as if you were sitting right in front of the device, which is pretty neat.
Why IoT Devices Love SSH
IoT devices are often small, without a screen or keyboard, so they rely on remote access for management. SSH is perfect for this because it's lightweight and secure. You can send commands to update software, check sensor readings, or restart a service, all from your own computer. This is how many people manage their Raspberry Pis, Arduinos, or other smart home hubs, so.
For example, if you have a device running a specific service, like a home automation system, you might need to adjust its settings or fix a problem. SSH lets you do this without needing to physically go to the device. It saves a lot of time and effort, especially if your device is in a hard-to-reach spot, or perhaps far away. It truly simplifies managing these little computers.
Getting Ready for Remote SSH Access
Before you can start connecting to your IoT devices from anywhere, you need to make sure a few things are in place. This preparation step is really important for a smooth experience. It's like gathering all your ingredients before you start cooking, you know?
What You Will Need
First off, you'll need your IoT device, of course, with SSH enabled. Most Linux-based IoT platforms, like Raspberry Pi OS, have SSH ready to go, or it's easy to turn on. You will also need a computer to connect from, which could be your desktop or laptop. Your computer will need an SSH client program, which is usually built into modern operating systems, like macOS or Linux, or available as a free download for Windows.
A stable internet connection for both your device and your connecting computer is also pretty important. If your internet connection drops, you won't be able to reach your device. Sometimes, people face issues like a "terminal freezes" problem, which can be due to a shaky network connection, so a reliable connection helps prevent that. You might also need access to your home router settings, depending on the method you choose for remote access, as a matter of fact.
Setting Up Your IoT Device
Make sure your IoT device is powered on and connected to your local network. You'll need to know its local IP address. You can usually find this by logging into your router's administration page or by running a command on the device itself. For example, on a Linux device, you could type `ip a` or `ifconfig` to see its network details.
Also, ensure that the SSH server software is running on your IoT device. For many devices, this is a simple command like `sudo systemctl enable ssh` and `sudo systemctl start ssh`. If you've recently installed new software, like GitLab, you might find that SSH stops working, as I experienced myself. It's a good idea to test the local SSH connection first, just to make sure everything is working as it should, before you try to connect from outside your home network, you know?
Methods to SSH IoT Device Remotely Free
There are a few different ways to get your IoT device accessible from afar without paying for a service. Each method has its own pros and cons, and what works best for you might depend on your home network setup and how much technical work you are willing to do. We'll look at the most common free options here, so.
Port Forwarding: The Straightforward Way
Port forwarding is a very common method. It tells your home router to send incoming connections on a specific "port" to a particular device on your local network. So, if someone tries to connect to your home's public IP address on, say, port 22 (the standard SSH port), your router sends that connection straight to your IoT device. It's a pretty direct path, you see.
To set this up, you'll need to log into your router's administration page, which is usually found by typing its IP address into your web browser. Look for a section called "Port Forwarding," "NAT," or "Virtual Servers." You'll then create a new rule that forwards an external port (like 2222) to your IoT device's internal IP address and internal SSH port (usually 22). Remember to pick a port number higher than 1024 for the external port, as this helps a little with security, too it's almost.
The main challenge with port forwarding is that your home's public IP address might change over time, especially if you don't pay for a static IP. This means your remote connection address would change, too. Services like Dynamic DNS (DDNS) can help with this by giving you a consistent hostname that updates automatically when your IP changes. Many routers have built-in DDNS client support, which is quite convenient, honestly.
Reverse SSH Tunneling: For Tricky Networks
Sometimes, port forwarding just isn't an option. Maybe your internet service provider (ISP) uses something called "Carrier-Grade NAT," or you don't have access to your router settings. In these cases, a reverse SSH tunnel can be a real lifesaver. This method involves your IoT device initiating an SSH connection *out* to a publicly accessible server, and then keeping that connection open, basically.
You'll need a low-cost or free virtual private server (VPS) somewhere online that has a public IP address. Your IoT device connects to this VPS, creating a tunnel. Then, when you want to access your IoT device, you SSH into that VPS, and from there, you can "jump" through the tunnel back to your IoT device. It's a bit like having your IoT device call you, and then you talk through that established call, you know?
This method is very powerful for getting around network restrictions. It's also quite secure because the IoT device is initiating the connection outwards, which is often allowed even on restricted networks. The setup can be a little more involved, requiring some scripting on your IoT device to keep the tunnel alive, but it's a very reliable way to get remote access when other methods fail, so.
Using a Free VPN or Cloud Service
While many VPN services charge a fee, some offer free tiers or trials that might be suitable for light use. A VPN creates a secure, encrypted connection between your remote computer and your home network, making it seem like you're physically there. Once connected to the VPN, your IoT devices are accessible as if you were on your local network. This is a very secure approach, as a matter of fact.
Another option, somewhat similar, involves using free tiers of cloud services that provide a way to connect to devices. Some platforms offer a small amount of free data transfer or device connections. These might not be traditional SSH setups but can achieve a similar outcome for remote control. However, these free tiers often come with limitations on data or connection time, so you need to check the details carefully, you know?
For example, you could set up a free tier of a cloud-based MQTT broker, and your IoT device sends data to it. Then, you can access that data from anywhere. While not direct SSH, it offers remote monitoring. For direct SSH, a self-hosted VPN server on a spare Raspberry Pi at home, or a free cloud VM (if available), could also work, providing a secure bridge to your home network, which is pretty useful.
Keeping Your IoT SSH Connections Safe
Having remote access is great, but it's really important to keep those connections secure. An IoT device that's open to the internet without proper security can be a target for bad actors. Just like you wouldn't leave your front door wide open, you shouldn't leave your digital doors unprotected, you know? Security is a very big deal here.
Strong Passwords and SSH Keys
The first line of defense is always a strong password. Avoid default passwords like "admin" or "password." Use a long, complex password with a mix of letters, numbers, and symbols. Even better, use SSH keys instead of passwords. SSH keys are a pair of cryptographic keys: one public and one private. You put the public key on your IoT device, and you keep the private key safe on your connecting computer. This way, only someone with your private key can connect, which is far more secure than just a password, so.
I often use specific SSH keypairs for different connections, not just my default `id_rsa` keypair, especially when connecting to a proxy server. This adds another layer of security, as even if one key is compromised, others remain safe. It's a good habit to create unique keys for different remote systems. If you're automating commands with Python, as I sometimes do, using SSH keys makes the process much smoother and more secure, too it's almost.
Limiting Access and Monitoring
Don't run SSH as the "root" user directly. Create a regular user account for SSH access and use `sudo` for administrative tasks. This limits the potential damage if someone gains unauthorized access. Also, consider changing the default SSH port (22) to a different, higher port number. This doesn't make it truly secure, but it does make it less likely to be hit by automated scanning bots looking for open port 22, so.
You can also configure your SSH server to only allow connections from specific IP addresses, if you have a static IP at your remote location. This is a very effective way to restrict who can even try to connect. Regularly check your device's log files for unusual login attempts or activity. If you notice strange behavior, like repeated failed login attempts, it's a sign that someone might be trying to get in, and you should investigate, you know.
Troubleshooting Common SSH Issues
Even with careful setup, you might run into problems when trying to SSH into your IoT device. It happens to everyone, honestly. I've had situations where SSH stopped working after installing something new, like GitLab, or even after changing my Apple ID password and restarting my Mac. These things can sometimes mess with network settings or permissions, you see.
If you find that SSH isn't working, here are some things to check. First, make sure your IoT device is powered on and connected to the network. Can you ping it from another device on your local network? If not, the problem might be with the device's network connection itself. Next, verify that the SSH server is actually running on your IoT device. You can usually check its status with a command like `sudo systemctl status ssh`.
Check your firewall settings on both your IoT device and your router. A firewall might be blocking the SSH connection. Sometimes, if you're trying to connect to a PostgreSQL server via SSH for remote management with pgAdmin III, and it's not working, the issue could be a firewall blocking the database port, even if SSH itself connects. It's important to make sure all the necessary ports are open. Also, if you're trying to forward X from an Ubuntu machine to a Fedora machine for graphical programs, make sure X forwarding is enabled in your SSH client and server configurations. If your terminal freezes, it might be a network issue, or perhaps a problem with the remote command you are running, so.
When fetching or pulling from Git repositories, or cloning, I sometimes run into SSH problems. Often, running a simple command, like `ssh-add` or checking permissions on SSH keys, can fix it. It's a good idea to restart the SSH service on your IoT device after making changes, just to be sure. A quick reboot of the IoT device and your router can also sometimes clear up odd network glitches, which is pretty common, actually.
Frequently Asked Questions About IoT SSH
People often have similar questions when they start thinking about remote access for their IoT devices. Here are some common ones:
Is SSH secure for IoT devices?
Yes, SSH is generally very secure, provided you use strong passwords or, even better, SSH keys. The connection itself is encrypted, which means your commands and data are private. However, like any security tool, its effectiveness depends on how well you set it up and manage it. Using default passwords or leaving unnecessary ports open can weaken its security, so.
Can I SSH to my IoT device without a public IP address?
Yes, you can! If your internet service provider doesn't give you a public IP, or if you're behind something called Carrier-Grade NAT, direct port forwarding won't work. In these situations, reverse SSH tunneling is a very good solution. Your IoT device connects out to a public server, and then you use that public server as a jumping-off point to reach your device. It's a clever way around network limitations, you know.
What do I need to SSH into an IoT device remotely?
You need your IoT device with SSH enabled and running. You'll also need a computer with an SSH client program. Depending on your method, you might need access to your home router settings for port forwarding, or a publicly accessible server for reverse SSH tunneling. A stable internet connection for both ends is also pretty important. And of course, the username and password or SSH key for your IoT device, honestly.
Getting Your IoT Devices Connected
Getting your IoT devices accessible from anywhere, all for free, is totally doable with SSH. We've talked about what SSH is, why it's a good fit for these small devices, and the different ways you can set it up, from straightforward port forwarding to more advanced reverse SSH tunnels. We also looked at how to keep your connections safe with strong passwords and SSH keys, and some common problems you might run into, you know.
The ability to connect to your devices remotely gives you so much more control and flexibility. Whether you're troubleshooting an issue, fetching data, or just checking in, having that secure line of communication is truly valuable. So, go ahead and give it a try. Explore the possibilities of having your IoT devices at your fingertips, no matter where you are. You can learn more about remote access solutions on our site, and for more details on secure connections, check out this page about SSH best practices. Happy connecting, actually!
- How To Access Iot Devices Remotely With Ssh
- Why Doesnt Uk Use Euro
- Kevin Bright Net Worth
- 9 Year
- Wedding Dresses For Courthouse Weddings

How to remotely ssh iot device in web browser

IoT SSH Remote Access - SocketXP Documentation
How Do I Access My IoT Device Remotely? | Robots.net
